
As Ali Edwards is gearing up for another Week In The Life (2019), I had my 1/2 completed 2017 album hovering over my head. Between being down for the count with pneumonia and a person who can't stand an undone mini-album, I decided to get going. There were several things that made this easier to do two years later:
- The Collect app was invaluable. During that week, I placed pictures on the correct days and I was able to return to them.
- Notes from the week: I kept notes from the week to which I could refer.
- Lots of stuff: I kept embellishments I knew I wanted to use all together in an envelope.
- Continual AE goodies: It was fun to use AE goodies that I did not have two years ago. Some things from more recent kits were perfect for the stories I was telling in 2017.
- A method: You will notice my days follow a similar method, with a little veering. That was a godsend, as worrying about design would not have helped me progress.


I am pretty sure this is a Brandi Kincaid creation.

The dividers looked really cute at the top. Since I started on Saturday, they did not flow perfectly, but they look great none the less.

Always an important page. I should add an addendum that I dragged this out until 2019!

Each day started with a 6 x 8 enlarged picture of something from nature around my house. I added Days of the Week Outline Banners to each.


On the opposite side of each larger photo I created a cluster of word strips that seemed to relate. The plastic numbers and the flag (this one says "Around Here") came with the kit for that year. Other things were hanging around in my "Words" drawers (yep, that's where I keep my words...).

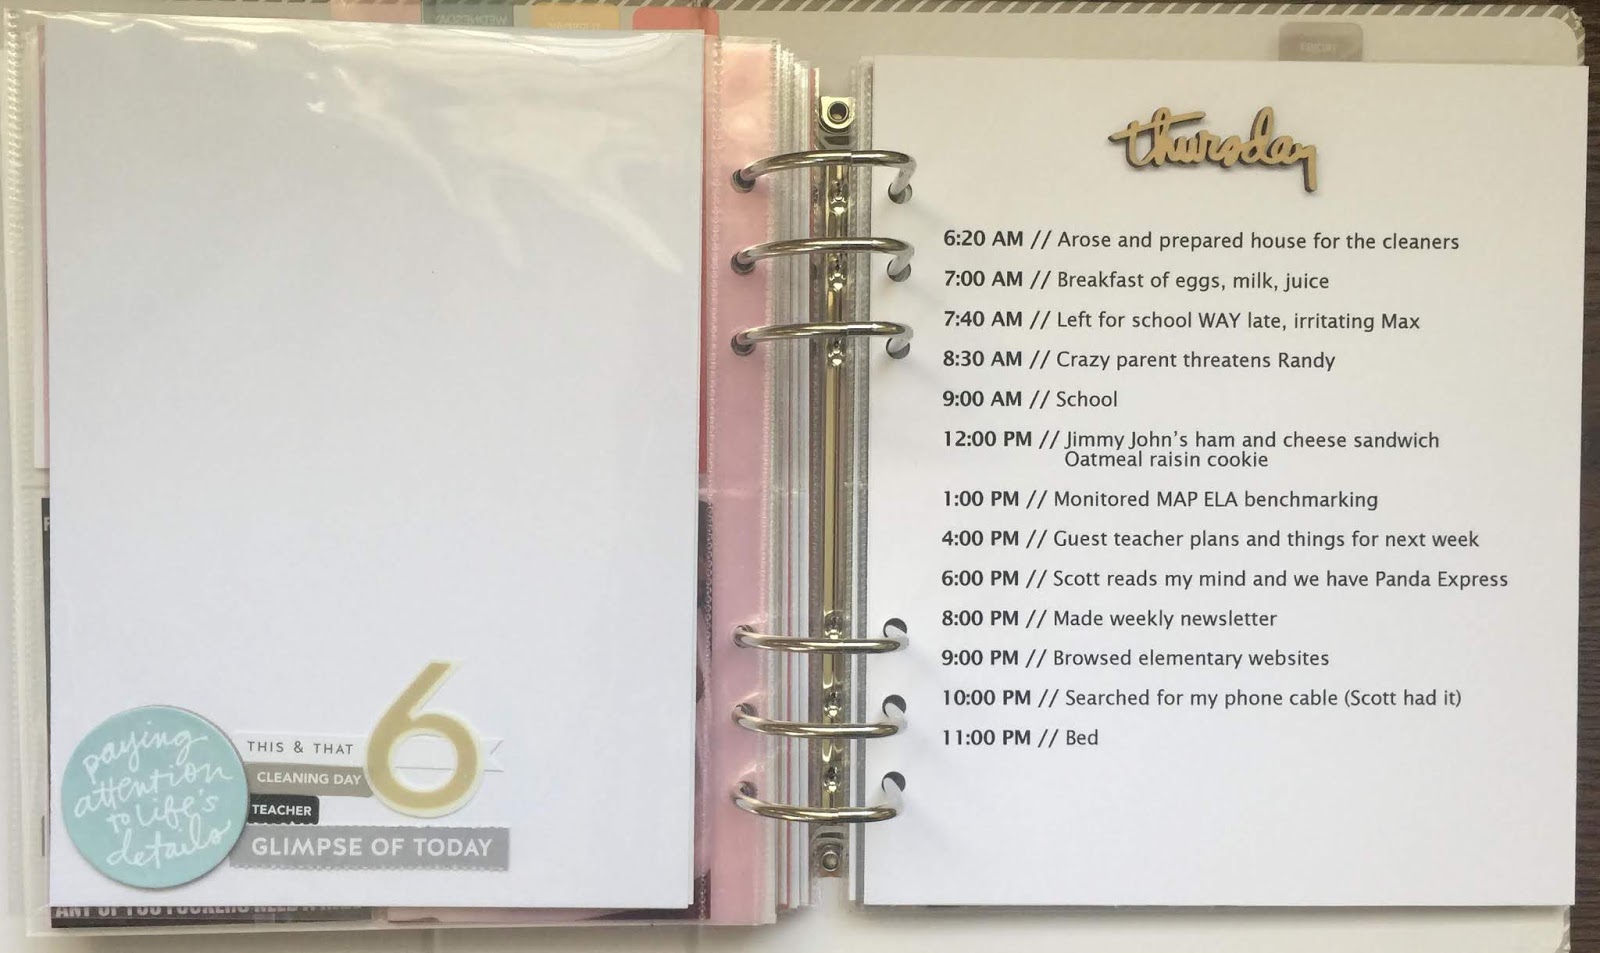
Each day started with an agenda of what I did that day. I used Ali's Daily Sheets template, which was a good thing as I was trying to recall things from two years ago.

The wood veneer words also came with the kit that year. I used them at the top of the outline of each day.

The method continued with journaling on the backside of the agenda. The next page protector was 2-up and contained a transparency of the day, a large abbreviation of the day, and another 4 x 6 photo with an overlay. The overlay part did not make it to the end of the project because it was a bit of effort to change the dates on it (not as simple as it would seem). I also felt I had plenty of identifiers for what day it was.

After that, the spreads changed depending on the photos I had available. There was usually a 4-up page of 3 x 4s included.

A clear divider showed the upcoming day and flower. I wanted to start on Saturday because this Sunday was Easter, which is a big deal of a day for me.


When the daily dividers came, you had to poke out the holes, and I recall in the Facebook group people were talking about using them as confetti. I gave it a try in a 3 x 4 pocket.


Here's a close up of the daily transparency and abbreviated day. I ended up adhering the two together with tape, as the abbreviation wanted to fall out a lot.


And there you have it! Voila! 2017 is complete!


